How to Change a Shower Head
If you're ready to upgrade your bathroom and looking for a DIY project, replacing your old shower head is a great place to start. It's a quick and simple way to refresh your bathroom without breaking the bank, and you can easily complete the job in just a few hours. Before you install your new shower head, however, you'll need to remove the old one.
Fortunately, we've got you covered there too. We've outlined some common methods for removing a shower head. Once you've successfully removed the old shower head, it's just a matter of following a few simple steps to install your new one and enjoy your upgraded shower experience.
Before Removing Your Shower Head...
- For your safety, only work with dry and stable surfaces. When replacing your shower head, your shower should be dry too to avoid any tumbles.
- Whether you use your hands or an adjustable wrench, don’t force the removal of your shower head. You can cause damage to your shower arm, leading to costly repairs.
Let’s dive in on how to remove a shower head!

How to Replace a Shower Head Using 5 Simple Techniques
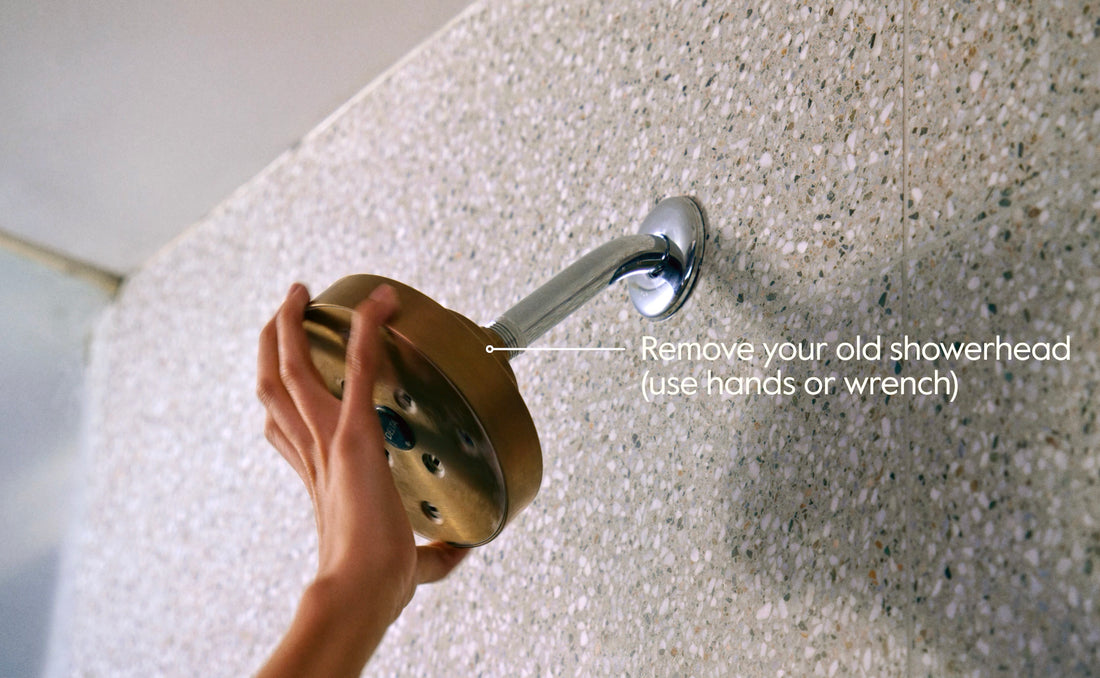
1. Remove Your Existing Shower Head
The first step in the process of replacing a shower head is turning off your faucet and unscrewing your existing shower head. Wondering how exactly you should remove a shower head? There are a few ways to do this.
Use your hands
You can skip any tools if your bathroom's existing shower head turns easily. Just hold onto your old shower head and unscrew it in a counterclockwise direction.

Try the vinegar method
If untwisting the shower head with your hands doesn't work, try the vinegar method as a way to replace your shower head. This technique is particularly good for loosening up tough mineral deposits on your old shower head.
Here's how it works:
- Fill a plastic bag with white vinegar.
- Wrap the bag around your old shower head so that it’s completely immersed. Focus on the connector between the shower head and the wall arm. This part should be totally submerged.
- Use rubber bands to secure the bag to your shower arm.
- Wait about 2-3 hours. (Maybe binge a home makeover show).
- Remove the bag.
- You should be able to unscrew the shower head with your hands by turning it counterclockwise.

Use a wrench
If replacing your shower head is extra stubborn, you may need to get tools involved. Older shower heads can be particularly stubborn due to corrosion.
For this method, grab the following items:
- An adjustable wrench
- A pair of pliers
- A washcloth (to avoid scratches)
First, put the cloth over your existing shower head. Next, get a wrench and unscrew your shower head. Turn the neck of the shower head counterclockwise to remove it. Be careful not to turn the pipe in the wall. Doing so can cause major damage to your plumbing. To avoid any issues, use a towel or a set of pliers to hold the extension arm in place.
2. Clean The Shower Arm
Now that you've removed your old shower head, take a moment to clean the thread end of the extension arm. This will help the process of replacing a shower head with a new one as smoothly as possible. Use an old toothbrush to remove any mineral deposits or corrosion. You can also use a CLR solution or white vinegar to give the thread end a good soak. Dry the thread thoroughly before moving on to the next step.
3. Apply Thread Tape
If your new showerhead comes with thread tape, also called Teflon tape or plumbers tape, apply it to the thread end of the fixed mount. This will create a watertight seal and help prevent any leaks. While this step isn't always necessary, it can make installation easier, especially when you're working with older plumbing fixtures.
To apply the tape:
- Cut off a small strip of tape (about 12 inches).
- Start at the bottom of the shower arm threads of the shower head arm and wrap the tape clockwise.
- Each layer should cover half of the previous layer as you wrap up the threads.
- Continue until you reach the end of the threads.

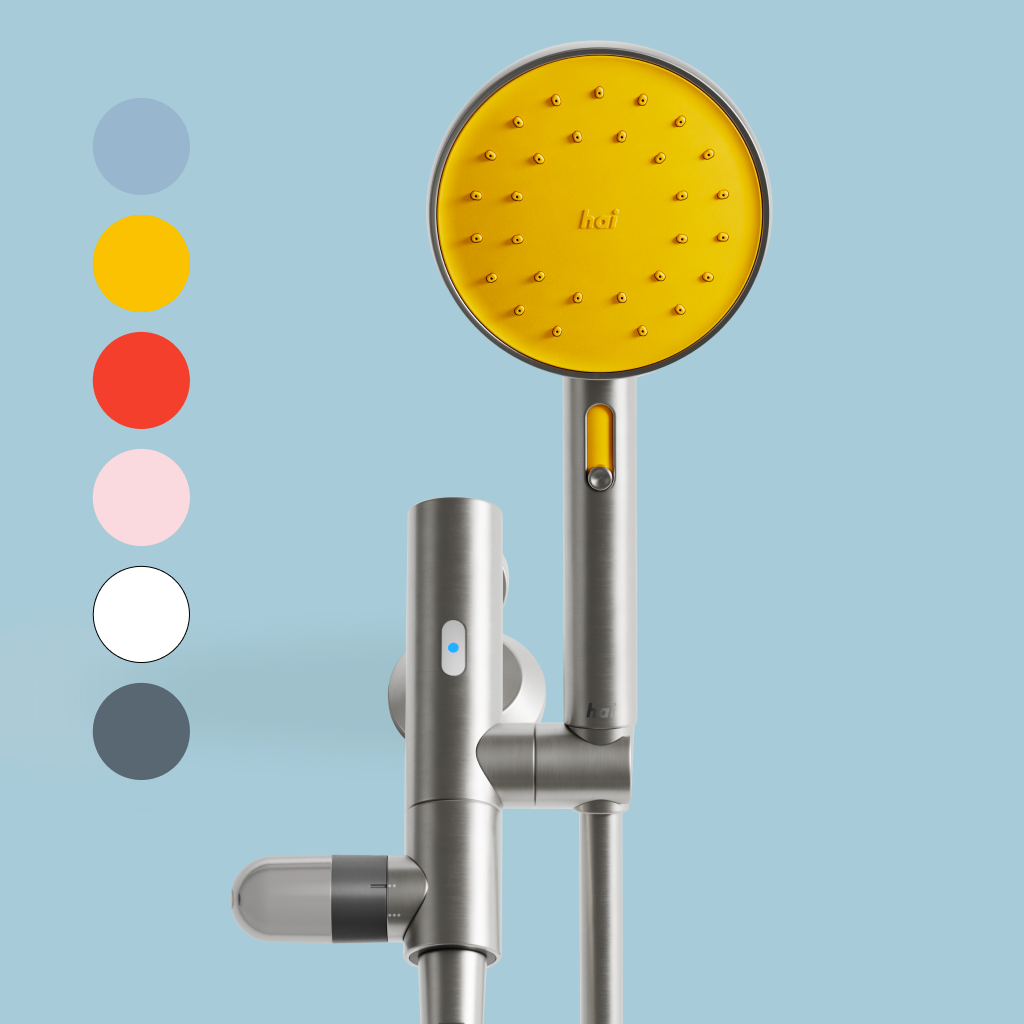
hai tip: Don’t want to deal with applying thread tape? With the hai smart showerhead, you can skip this step altogether. hai offers an innovative solution that allows you to upgrade your shower experience without the hassle of calling a plumber. Unlike traditional showerheads that require plumber's tape for installation, the hai smart showerhead can be easily installed by anyone, without any tools. All you need to do is remove your old showerhead, attach the hai clamp to your shower arm, and twist. This not only saves you time and money (no need to call that plumber!), but it also means you can enjoy the benefits of a smarter shower experience right away. When we say easy install, we mean it.
4. Install Your New Shower Head
Now it's time to attach your replacement shower head. Make sure to read your product's instruction manual for any special steps before replacing your shower head. Some new shower heads may require a wrench for installation. Others, like the hai smart shower head, only require your hands for this simple task.
Hand tighten or use a wrench to screw on your new head. Turn your shower head clockwise until it feels secure. Then turn it an extra quarter turn to make sure it's snug. Be careful not to overdo it. Doing so can cause damage to the shower arm or shower head.
5. Test For Leaks and Low Pressure
Once you've installed your new shower head, turn on the water to test for any drips. Check around the neck of the shower head and the connection point to the shower arm. If you see any leaking, turn off the water and try to carefully tighten your shower head a little bit more. If the water pressure seems low, remove the head completely and check for any debris or mineral deposits that might be clogging the shower head.
You may also need to re-clean your shower arm's threads to remove buildup. Once your issues have been fixed, turn on the faucet and check the water flow one more time.
Some Final Thoughts
Congratulations! You've successfully replaced your old shower head with a shiny new one. We hope installing your quality new fixture was quick and easy (we also hope it was a hai!) Now, enjoy your upgraded shower experience and soak in the bliss.